Saturday 15 November 2014

Cauliflower Rice

Ok, I cannot believe I am about to say this BUT ... if I never ate a grain of rice again in my life it would be OK. To understand how big a statement that is from me you must understand that I LOVE RICE. I grew up in Malaysia. For the first 20 years of my life rice was my staple. I probably had it every day. However I have tried a substitute to rice and it's quite delicious.

The humble cauliflower has completely shocked me. I have heard a few people talking about this magical thing called cauliflower rice, they were singing out praises like low carb, healthy, vegan, gluten free, no starch blah blah ... and I kept thinking so what, big deal. I love my rice and curry and there's no way in hell I would ever not eat rice.

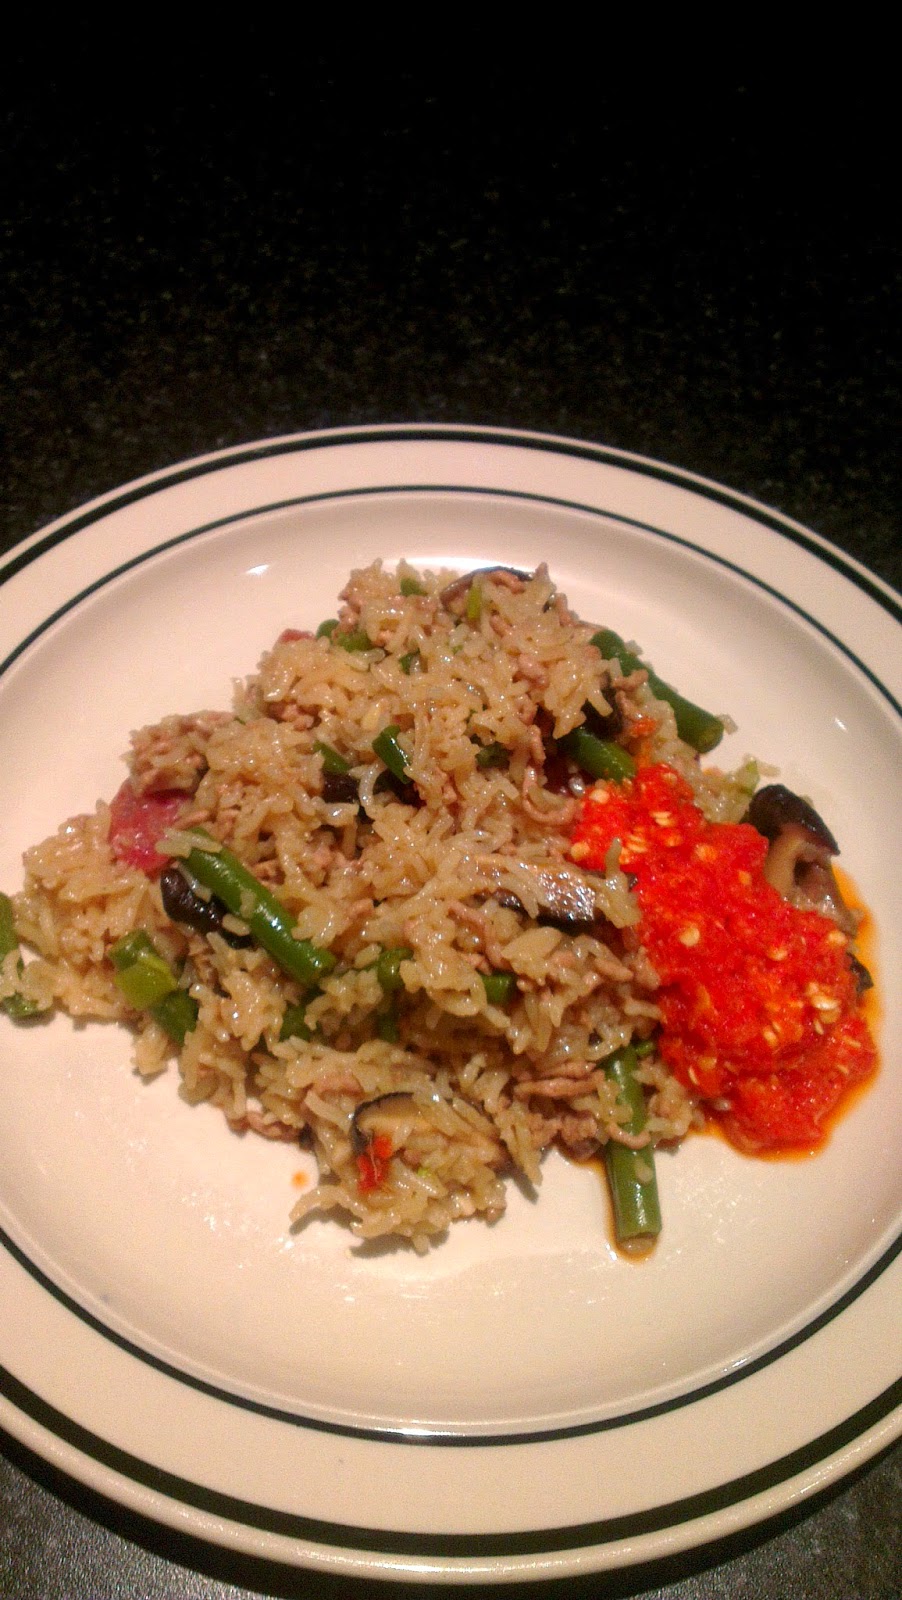
Enter cauliflower rice ... I did decide to try it and was quite blown away at how delicious it was. Not only was it easy to make it was light and didn't leave me feeling bloated. The taste was sweet and nutty and texture not unlike cous cous. Long story short, love love love it. Truth be told though, I will never give up rice completely, but I most certainly will be having lots lots more of this cauliflower wizardry.

Cauliflower Rice

1 head of cauliflower
a little cooking oil or butter
salt
optional add ons like coriander, nuts, sultanas

1. Cut up the cauliflower into small chunks and put in food processor. Blitz it to a fine texture. Do not over blitz it though as you don't want mush.

2. Heat oil or butter in wok, toss cauliflower ruble through. You want to stir it about for about 5 minutes. All you want to do is put some heat through it and let the grains soften a little. This process also helps remove some moisture so your "rice" isn't wet.

3. If you want to add extra bits like toasted almonds or anything else do it now. Toss some salt through too.

4. Serve warm with curry.


Thursday 11 September 2014

Chocolate Mint Truffles

If I had all the time in the world to cook or bake at leisure I wouldn't mind if whatever I was cooking required a gazzilion ingredients. Unfortunately I don't so I do love making things that don't require too many ingredients but still delivers maximum flavours and also very pretty to look at. When I saw this recipe online I must be honest, I was incredibly sceptical about how tasty it would actually be. I am so very happy to say my fears were ridiculous. These chocolate balls are ... amazeballs!!

The actual truffle itself only requires 2 ingredients, the 3rd is optional. For the chocolate coating that is completely up to you how you want to decorate. I chose to coat the balls in chocolate and drizzled some with a different coloured chocolate and some I sprinkled with crushed Peppermint Crisp bars.

It's easy, it's fun and incredibly delicious. Make them as big or as small as you want. I made 2 dozen little ones for the kids plus a bakers dozen of Mummy size ones. Happy faces all round!!

Chocolate Mint Truffles

2 x 200g Arnott's Mint Slice biscuits
250g cream cheese
1 teaspoon peppermint essense (optional)

For the coating/decoration
white chocolate melts
dark chocolate melts
Peppermint Crisp bars crushed for sprinkling

1. Blitz the biscuits in a food processor. Then add cream cheese and peppermint essense (optional) and blitz until well combine.

2. Roll into desired size balls and pop in freezer for 20-30 minutes. The harder the balls get the easier it is to work with it when you're dipping it in chocolate.

3. Meanwhile melt the chocolate for coating over a double boiler or in the microwave. Dip chocolate balls in and decorate to your hearts content.

** I chose to coat some with white chocolate, some with dark chocolate, drizzled green chocolate and also sprinkled some with crushed Peppermint**

Saturday 19 July 2014

Bananaberry Bread

One night as I was tucking my twins into bed, Master H very randomly said "I want banana bread please". I did what most mothers would do to settle the kids and get them to bed, I simply said "ok, tomorrow, go to bed or you won't get it". When tomorrow came I of course had completely forgotten about the banana bread request BUT Master H did not. He kept harping on and on about it and I knew there was no shutting this one down.

My problem that day was I was actually working from home. I couldn't afford to spend heaps of time in the kitchen pretending to be a lady of leisure who didn't have a job and who had all the time in the world. So I Googled (of course) the simplest recipe I could fine with ingredients that were already in my pantry and got to it as quickly as possible.

This recipe was fabulous as I didn't even need an electric mixer, just a bowl and a wooden spoon. In 15 minutes flat the cake was in the oven. Master H was happy his request was baking away. I could go back in my office and work with a smile as the house was starting to smell heavenly.

Bananaberry Bread

3 ripe bananas
a handful of blueberries
half a cup of diced strawberries
1/3 cup melted butter
3/4 cup sugar
1 egg beaten
1 tsp vanilla
1 tsp baking soda
1 tsp cinnamon
1 and 1/2 cup plain flour
pinch of salt

1. Preheat oven to 180 degrees and line a loaf tin.

2. In a bowl add all wet ingredients. Mix well until sugar is dissolved. Add fruit to mix and stir.

3. Then add dry ingredients and mix well.

4. Pop in loaf tin, shove in oven for 1 hour.

5. Serve warm with butter melting all over it!

Pork and Veg Rice

This dish is so tasty and hearty and just packed full of wholesome goodness that I have to share it. It's a dish that reminds me very much of flavours from my childhood.

I was inspired to make this because a Malaysian friend who happens to be a talented cook made a dish called Long Bean Rice and showed me a photo of it. It made me want it instantly so I had to give it a go. It's basically rice and long beans cooked in a wonderful broth. What makes this dish extra special is the use of some funky ingredients like salted fish and dried prawns. These ingredients bring layers of flavour that is just second to none. However these flavours can also be quite strong especially for my 4 year old twins so I have modified it to be less in your face but still completely tasty and flavoursome.

Long beans/snake beans is the prefered bean for this dish as it holds it's firmness more than any other bean but I used round beans as it's readily available from Woolworths and is just as tasty. Also you can substitute all ingredients with whatever you prefer like chinese sausage for chorizo, dried shitake for fresh ones etc. My type of cooking is all about what's at hand.

Here's my version. Hope you like it.

Pork and Veg Rice.

250g pork mince
2 pieces of lap cheong (chinese pork sausage available from Asian aisle in Woolworths - or use chorizo if you're unsure if you'll like it)
25g dried shitake (soaked in hot water for 15-20 minutes or use any other mushroom you like)
3 stalks of spring onions (use the white crunch bit at bottom, not leafy part)
3-4 cloves of garlic
200g round beans trimmed
4-5 tablespoons oyster sauce
3 tablespoons light soy
2 tablespoons dark soy
4-5 dashes of fish sauce
1 tablespoon sesame oil
white pepper to taste
salt to taste
2 cups uncooked rice
ginger about the size of a thumb
4 cups water
 
****you can add carrots, capsicums or whatever you like really****

1. In a wok or frying pan cook mince, sausage, garlic for a few minutes, just long enough for mince to start the cooking process and for flavours of sausage to start oozing into the oil.

2. Then throw in mushrooms, spring onions, beans and rice and toss it all together. Then add all the seasonings and sauces and make sure everything is well coated.

3. Transfer everything to rice cooker pot. Add water and stir. Taste the soup and adjust salt, pepper and soy to taste. Throw in the ginger and turn on rice cooker.

4. Half way throw cooking process give it a stir to make sure nothing is stuck to sides or bottom of cooker.

5. I serve it with homemade chilli and ginger sauce but that's optional.


Thursday 3 April 2014

Flourless Chocolate Almond cake

One of my favourite nuts to have with chocolate is scorched almond. I had been craving for something almondey for a bit and since our twingroup catch up was coming up that was my perfect excuse to bake a cake. The mother's that come with their beautiful children are worth all the effort and time I can give for our fortnightly playgroups. Love em all to bits.

This recipe calls for roasting the almonds for 5-10 minutes, but I roasted mine for about 15-20 minutes until it went pass golden to brown, just on the verge of dark. I love the roasty toasty nuts breaking up the rich cake so it's up to you how far you take your nuts.

There are a gazzilion versions of flourless chocolate cakes but this recipe I love because it has a very high egg content which just takes the cake from airey to fudgey but not so heavy. The original is a gold old trusted taste.com.au recipe so you know it'll work and just be delish. This is my version, hope you like it.

Flourless Chocolate Almond cake

150g almonds (I used a mix of slivered and flake for the different texture)
125g butter, chopped
1 massive tablespoon instant coffee diluted in 3 tablespoons hot water
220g dark chocolate, broken to pieces
1/3 cup cocoa powder
3/4 cup caster sugar
5 large eggs separated
cream, vanilla bean paste and strawberry for serving

1. Preheat oven to 180 degrees and line a springform cake pan. I used a 23cm round.

2. Roast the almonds for 5-10 minutes if you want just toasty and golden or 15-20 minutes if you want slightly scorched and intensely nutty.

3. In a microwave safe jug add butter, chocolate and coffee mixture. Heat in microwave for 2-3 minutes on medium high power but stir after each minute.

4. Once mixture is melted, smooth and glossy sift in the cocoa powder. Stir through and then add 1/2 cup sugar, egg yolks and nuts. Mix that well making sure sugar is well stired and not clumpy. Transfer to bigger mixing bowl (unless your bowl is already a big one).

5. Whisk egg whites to soft peaks and then add the remaining sugar a little at a time. You want the meringue to be stiff. Then fold into chocolate mixture and mix well. (but try not to knock all the air out of the egg whites)

6. Bake for approx 40 minutes. Test with skewer, you want to see moist bits on skewer. If the skewer is completely covered in batter it's not cooked enough, if skewer is completely clean then cake might be too dry.

7. Cool cake before removing pan. You'll see a lovely crunchy shell over top of cake, almost macaron like in texture, try not to peel it off and eat (I failed).

8. I whipped cream and vanilla paste to serve with cake along with some luscious strawberrys to cut into the rich cake. Cake is also lovely when zapped in microwave for 15 seconds as it makes the middle fudgier and warm.


Friday 21 February 2014

Mini Nutella Cheesecakes

Feels like the Xmas season and New Year wasn't that long over yet as I write it's February. I must have blinked and the month of January disappeared without a trace. Slow down time!! What's the rush????

My oldest child has started her final year of high school, the troublesome twins are in Kindy, the hubby is back to lots of work travel and work for me has begun with gusto. It's been go go go since returning from our holidays. I won't have as much time to bake at will but when I do I will try to make it count.

My poor neglected blog needs some loving so I'm kick starting my 2014 entries with almost everyone's favourite spread... Nutella!! This recipe had me hooked at Nutella and the deal was sealed at no baking required. It's not an original recipe but I have adapted it a little to suit. I believe it was Goddess Nigella's recipe. I saw it on the Rasa Malaysia  Facebook page.

This recipe is perfect for one good size cheesecake but I was baking for a group of little people at our twin playgroup so smaller versions were a better option for us. I made 48 mini cakes as I used mini cupcake moulds. Mini cakes are great, little bite size pleasures, perfect for that instant fix or keeping a craving at bay. Perfect if all you need is 1 or 2 to satisfy the urges and also perfect if you had, errr say maybe 8 because they were all minis.

Nutella Cheesecake

280g Digestive biscuits
100g soft butter
400g jar of Nutella (or whatever hazelnut spread you like)
150g hazelnuts
500g soft room temperature cream cheese
1/2 cup icing sugar (sifted)
whipped cream for serving

1. Dry roast the hazelnuts and set them aside.

2. In a food processor add biscuits, 1 tablespoon Nutella and butter and blitz to a nice wet crumble. Then add 1/3 of the hazelnuts and blitz a little more. You want the hazelnuts to add texture to the crumble.

3. Press the biscuit mix in the moulds you have chosen to use. I used mini cupcake moulds so 1 teaspoon of mix was all I needed but adjust accordingly to your mould. The back of a spoon is the perfect tool to use as a press. Then chill the base to harden.

4. Beat cream cheese and add sifted icing sugar and mix well. Then add the rest of the Nutella and mix until well combined.
*** if a tablespoon of Nutella happen to jump out of jar into your mouth, and it can happen, it's quite ok and completely understandable! ***

5. Add the Nutella mix to the base, about 2/3 Nutella mix to 1/3 biscuit base. You can either add to mould and remove when set or remove chilled biscuit base from mould and pipe Nutella mix on top and then chill to set.

6. Chill for as many hours as possible. 3-4 is fine but overnight is better.

7. I find adding a dollop of whipped cream on top just before serving lightens the rich dessert. Top with hazelnuts too for that extra crunch.