The month of May is a busy month for birthdays in my family. This May was extra special as my husband turned 50 and his sister from London who also had a birthday a day before his was with us to celebrate it. Uber special! I really wanted to make a cake for dear Linda and I wanted it to be different and beautiful and just yummy. After all London is a long way away and the fact she came with her husband was cause for celebration enough but to have a birthday with us as well was too fab!
One of Linda's favourite fruit is raspberry so I wanted to showcase raspberries. I love raspberries with cream and with these 2 ingredients in mind I knew I had to make her a meringue cake. I wanted it to be a little more than just raspberries and cream though so I added rosewater to the cream and can I say, those 3 together, raspberries, cream and rosewater .. OMG! The plan to take the cake to another level was to add crushed pistachios between the layers with the rosewater cream but I ooopsied and forgot. So if your memory is better than mine add some for that crunch, it'll be delish.
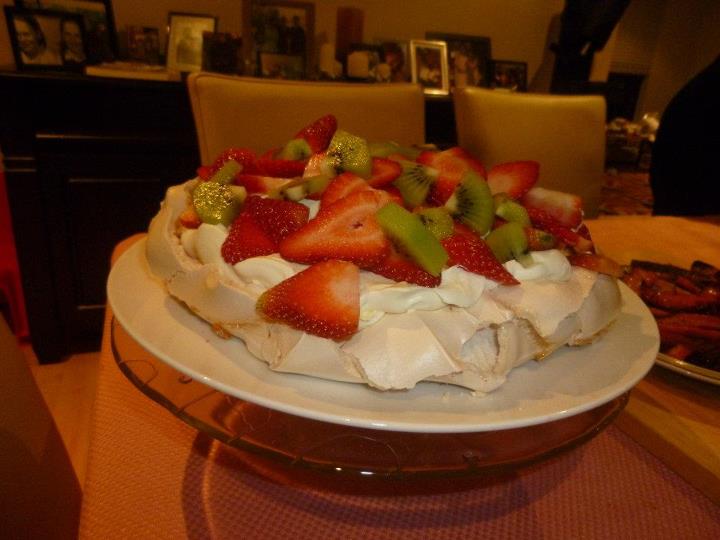
Raspberry Meringue Cake with Rosewater Cream
 2-3 punnets of raspberries
4 egg whites
1/8 teaspoon cream of tartar
1 1/4 cup caster sugar
500ml cream
2-3 tablespoons icing sugar
1-2 tablespoons rosewater
1 cup crushed pistachios (optional)
red food colouring (optional)
1. Preheat oven to 120 degrees.
2. Line 2 baking trays with baking paper and draw 3 circles (I used a saucer).
3. Beat egg whites on low speed until frothy then add cream of tartar. Beat on high until peaks hold.
4. Add sugar a little at the time whilst beating to firm peaks.
5. Pour mixture into drawn circle making sure it's not too thin.
6. Bake for an hour and turn off oven. Loosen meringue discs with a spatula just to make sure the bottoms are not stuck. Leave in oven to cool and dry.
7. Beat cream and icing sugar until firm. Add rosewater to taste and just a drop of food colouring for a tinge of colour.
8. To assemble simply place cream on a disc of meringue. Sprinkle raspberries and pistachios (optional) and then sandwich with another disc. Repeat for the next layer. Then garnish the top however you like.