Sunday, 17 March 2013

Caramelised Banana Cheesecake

Last week I was chatting to a girlfriend about caramel cheesecakes. Everyday since that chat all I could think off was caramel cheesecake. So when twingroup rolled around it was my perfect excuse to make one. I am normally a fan of quick and easy but effective and delicious. This recipe is a bit more involved than what I would normally do as there are several parts to it and it does span over 2 days as there's a lot of time needed to let the cake chill. But for all the time and effort required, I promise you, definitely worth it.

I had never made it before so I looked online at several recipes and used bits that I liked from 2 recipes. One was from Yummly and the other by Anna Olson at the recommendation of my Mom. My mother simply adores her.

So after many hours of fun fun fun here is my version of a Caramelised Banana Cheesecake.

For the pastry
13 digestive biscuits
1/2 cup pecan nuts
1/4 cup melted butter

For the caramelised banana
3 firm bananas
1/4 cup brown sugar, packed
2 tablespoons butter
1 tablespoon lemon juice

For the cheesecake filling
500g cream cheese, softened
3/4 cup caster sugar
1/2 cup sour cream
1 egg, beaten
1 extra yolk
2 egg whites,lightly beaten

For the caramel sauce
1 1/2 cup caster sugar
1/4 cup water
1 tablespoon lemon juice

PASTRY
1. Wrap a greased 23cm springform tin in foil. It will be immersed in a water bath later. Preheat oven to 180 degrees.
2. Blitz pecans and biscuits until fine. Then add melted butter and blitz until well combine.
3. Press onto bottom of pan (not up the sides) and bake for 12 minutes and see aside
to cool.


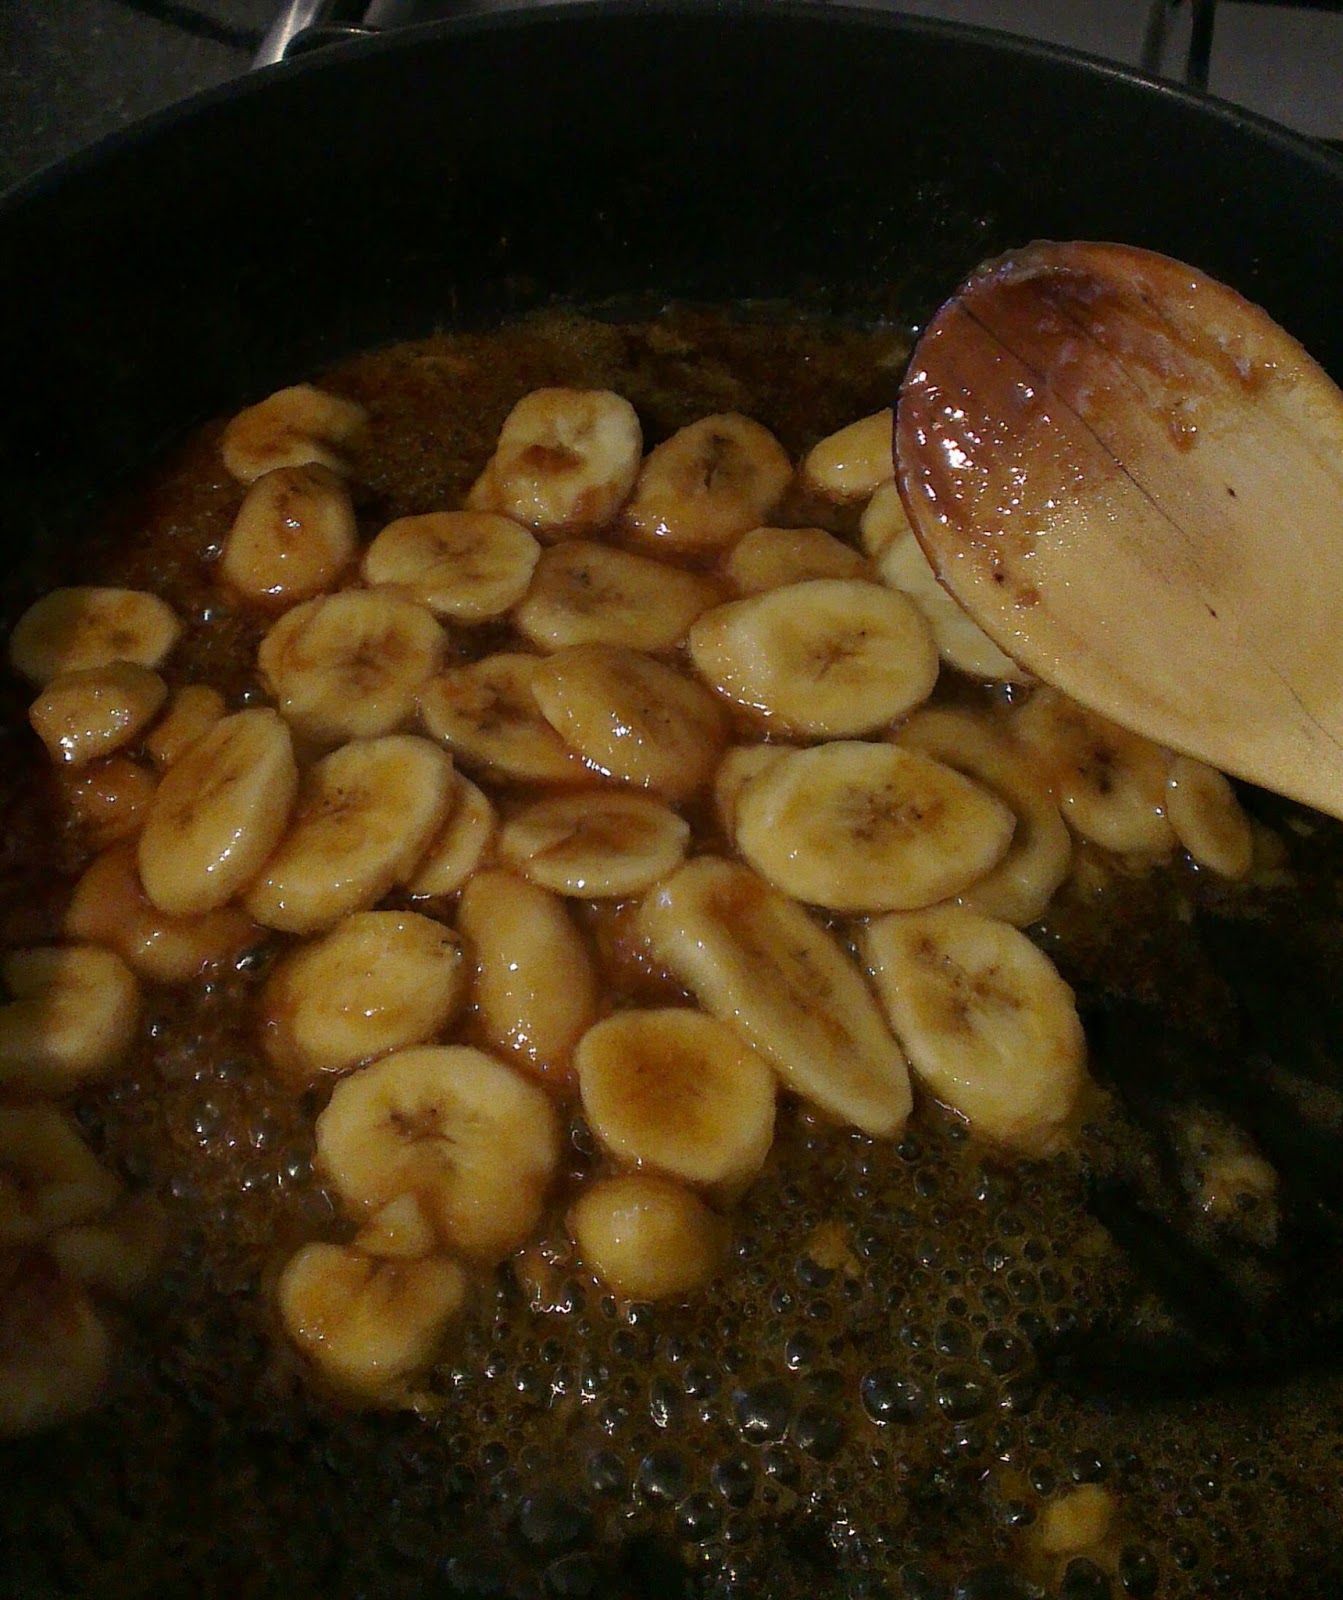
BANANAS
1. Melt butter and add brown sugar until melted and bubbly. Add lemon juice and sliced bananas.
2. Warm bananas through the hot caramel until well coated. Pour onto cooled crust and set aside.

CHEESECAKE FILLING
1. Beat cream cheese until fluffy. It must be soft to begin with or you'll get a lumpy filling.
2. Add sugar then sour cream and eggs.
3. Combine well and top the caramelised banana in the springform tin. Put tin in a deep baking dish and pour hot water half way up the tin.
4. Put in oven for 30 minutes at 180 degrees and then another 30-40 minutes at 160 degrees. The cake should be puffed but still jiggly. Remove from water and completely cool before letting it chill in fridge overnight.


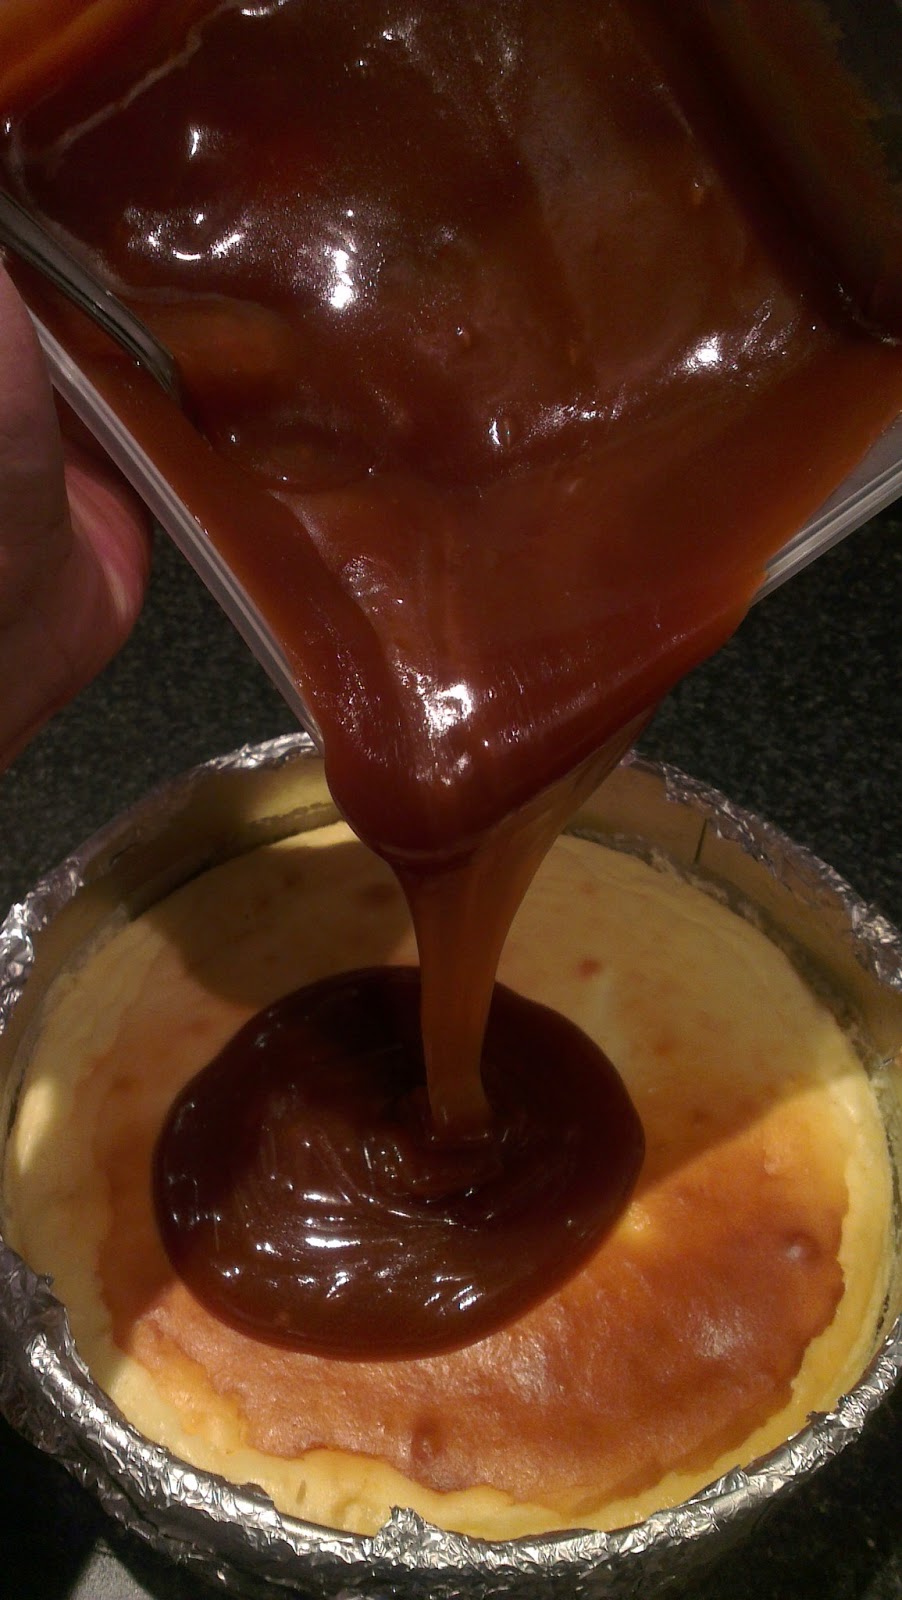
CARAMEL TOPPING
1. In a pan combine water, sugar and lemon juice. Don't stir. Let it boil until it reaches a golden colour.
2. Remove from heat and add cream. Be careful as it will be quite sputtering and bubbly. Return to heat for another 5 minutes or so to let it reduce a little. Stir occasionally.
3. Let caramel sauce cool. I cool it in the fridge until it thickens but can still pour and flow.
    4. Pour sauce on cake and chill completely.


FINALLY
1. Loosen and remove pan. The sauce will start to slowly ooze down the sides so think about what you use as a plate or serving dish as if it's not deep or big enough caramel will ooze everywhere (learn that the hard way)

2. Have the strength to share cake with friends because it really is delicious!!


Wednesday, 6 March 2013

Hot Cross Buns


My boys have just memorised the words to the old Hot Cross Buns nursery rhymes. They love the song and it's quite hilarious to hear them sing it. It's almost Easter Time (according to the shops anwyay) as Easter Eggs and Hot Cross Buns are now on display. Actually it's been on sale since February so really the shops are not a good indication of how close Easter is because if we go by their displays Halloween is in September and Xmas is in October.

Anyway, the boys had their first taste of the infamous buns last week and they loved it. This morning on their way to daycare they asked if I could get them some for when they got home. So I dropped them off and went to the bakery that made the best ones in my town only to be dreadfully disappointed that they were shut. So I got home, looked up a recipe on taste.com and to my amazement actually had all the ingredients in the pantry and decided to bake some.

This is my 1st attempt. It's not the best hot cross buns in the world but it's quite gorgeous especially served warm with butter melting through it.

Hot Cross Buns

Buns
4 cups plain flour
1/4 cup caster sugar
2 x 7g dried yeast sachets
2 teaspoons mixed spice
pinch of salt
1 1/2cup sultanas
50g butter
300ml milk
2 eggs beaten

Flour paste
1/2 cup flour
4-5 tablespoons water

Sugar glaze
1/3 cup water
2 tablespoons caster sugar

1. Combine flour, sugar, yeast, mixed spice, salt and sultanas in a large bowl. Make a well and set aside.

2. In a small saucepan melt butter and heat milk just to lukewarm. Add warm milk and beaten egg to dry ingredients. Mix it until combined and turn out dough onto lightly floured surface.
***I used a mixer with a dough hook but a flat knife is good enough for the mixing***

3. Knead dough until smooth, 10 mins max. Don't overwork it or you'll have buns of steel. Place dough in a lightly oiled bowl and set aside to rise and double, about an hour or an hour and half.


4. Punch dough down to original size and knead until smooth. Cut into 12 equal portions. Roll each portion into a ball and place on a baking paper lined tray a couple of cm apart. Set aside for half hour so dough can plump up again. Heat oven to 190 degrees.

5. To make flour paste simply add flour and water and stir to a nice thick consistency. Not too thick that it can't get piped, thick but flowy is what you want. Add a little more flour or water if needed to reach the consistency you need. Put flour paste in a piping bag or a plastic bag that you can snip the edge off. I used a plastic bag with a small nozzle shoved in the end.

6. Pipe paste on buns. Of course make the cross pattern but I also did a few initials for the twins as they love anything that they can identify as being specific to them. Pop in oven for 20-25 minutes.

7. Meanwhile dissolve sugar and water and let boil for a few minutes. Let it boil until the mixture looks a little thick but take it off the fire before the colour starts to change to toffee shades.

8. When buns are out of oven and still warm glaze with the mixture. It will give that extra sticky yumminess and beautiful glossy finish.

9. Shove in face whilst still warm with melting butter all through the crumbly bun.

Wednesday, 23 January 2013

Strawberry Sponge Cake

Hello hello hello! We've been on a gorgeous Malaysian holiday over the Xmas and New Year break but it's back to the grindstone now. This is my first cake of the year. It's summer and hot and strawberries are in abundance so it was easy to decide what to showcase in this cake. My friend made a very scrumptious looking Strawberries and Cream sponge the other day and I was inspired to give it a go.

I've never really been a fan of sponge cake but this recipe seemed so full of air and lightness that I had to try. Thanks Donna Hay. It's a super hot day and my cake has to be made in advance due to time constraints so instead of whipped cream I opted for a more robust buttercream - just so it wouldn't melt in the drive to where we'll be partaking in this cake. It will be shared at twingroup later so fingers cross it'll taste as good as it promises to be. So here's my attempt.

Strawberry Sponge Cake 

For cake
1 1/4 cup plain flour
6 eggs
3/4 cup caster sugar
60g melted butter

For buttercream
250g soft butter
3 cups icing sugar
1 tablespoon vanilla extract
2 tablespoons milk
a pinch of salt

For filling
1 punnet of strawberry
strawberry jam

1. Beat eggs and sugar with an electric mixer for about 10 minutes. You want the mixture to be pale and full of air. It will triple in quantity.

2. Sift the flour at least 3 times. I think I did 5 just because I could. Then sift flour into egg and sugar mixture. Don't be aggressive in the folding as you'll beat the air out.

3. Fold in melted butter in the same fashion - try to keep as much air in as possible.

4. Pour batter into 2 x 20cm round tins or 1 big one. I opted for the 1 big as I do not have 2 identical tins (note to self : must go shopping for more cake tins)

5. Bake in a preheated 180 degrees oven for 25-30 minutes.

6. Allow to cool on wire rack and start on the buttercream.

7. For the buttercream beat soften butter and icing sugar. Add the other ingredients and mix well. If you want the icing runnier add more milk a tablespoon at the time. If you want it thicker add more icing sugar a little at the time.

8. Decorate which ever way you please. I chose to cut my cake into 2 and layered it with strawberries and jam. I then covered the entire cake with buttercream and decorated with strawberries and drizzles of toffee swirls and shards.


Thursday, 22 November 2012

Melting Moments and Chocolate Butter Cream

So our twin group get together has come around again and after several weeks of making kiddie fun food I wanted to make something that the Mamas could enjoy as well. I knew my week was going to be a hectic one so it had to be something uber delicious but with very little effort so I decided on melting moments.

I love melting moments, I think it's all that butter! It's also slightly magical the way the biscuit just crumbles and melts that makes it so much fun to eat.

I had a recipe that made the most stellar biscuits but I lost it. It was scribbled on a piece of paper that is normally tucked in a cook book but it's gone. I am terrible disorganised in the way I have my recipes kept. Some are scribbled on pages within cookbooks, some are just torn bits of paper from note pads and none are in a folder or any kind of smart system. I'm just chaos and one day I will get around to making my cooking life easier. But until then this recipe from taste.com.au will have to do. It's delicious.

Melting Moments with Chocolate Butter Cream

250g butter (room temperature)
1/3 cup icing sugar (sifted)
1 and 3/4 cup plain flour
1/3 cup cornflour
1 teaspoon vanilla essence

Chocolate Butter Cream
65g butter (softened)
2/3 cup icing sugar
1 teaspoon vanilla essence
1 heaped tablespoon cocoa powder

1. Preheat oven to 160 degrees and line a couple of baking trays with baking paper.

2. Beat the butter, icing sugar and vanilla essence until fluffy and pale and creamy.

3. Sift the flour and cornflour into it and mix on low until well incorporated and a crumbly soft dough forms.

4. With your floured hands roll small balls and place them on lines tray about 5cm apart. Dip your fork into the flour and flatten the balls into a flat but not too thin biscuit.

5. Bake for 15 minutes. Don't bake too long as you want to retain the pale colour of the biscuit and baking too long will make the edges brown. Cool on tray before putting icing.

6. To make chocolate butter cream simply add all ingredients and mix well.

7. When biscuits are completely cool put chocolate cream on one half and sandwich with another biscuit.


Friday, 2 November 2012

Maltesers Slice


This will be my second recipe made using the ever delicious always scrumptious Maltesers. I can not describe what it is about it that I love so much but I just know I do and I'm not alone. It's just so addictive. I have made a healthier Maltesers treat, Maltesers Fudge, a low fat low sugar calorie conscious Weight Watcher's version. This one is NOT. It's jam packed with malt and chocolate goodness.

I must admit that I do think this is a tad too sweet for my palate. The recipe I followed is an Eric Lanlard's recipe Malteser Square. The next time I make it (oh there most certainly will be a next time) I will use a semi sweet chocolate as opposed to the milk chocolate the very French and very cute Eric Landlard uses.

This is a super easy recipe, one for the time strap cook (moi!). It's melt, stir, tray and chill. In under 15 minutes you'll be done. Enjoy.

Maltesers Slice

100g butter
200g milk chocolate (or semi sweet if you prefer less sweet)
3 tablespoons golden syrup
225g Digestive biscuits
approx 300g Maltesers
75g white chocolate

1. Grease a 20 inch shallow tin - or skip the greasing and use silicone bake wear.

2. Crush the biscuits. I put them in a plastic bag, grab the rolling pin and bash my stresses away (very therapeutic)

3. Melt butter, chocolate and golden syrup.

4. Mix in crushed biscuits. Let cool a little because the next step is to stir in about 250g Maltesers.
*** if you put the Maltesers in when chocolate mixture is very hot all the chocolate coating will melt****

5. Once mixed pour into tin. I use some of the remainder chocolate balls to garnish the top randomly and I eat the rest.

6. Chill for 2 hours or more.

7. Cut into small square or rectangular slices, melt some white chocolate and drizzle over to finish.