Wednesday, 22 May 2013

Raspberry Meringue Cake with Rosewater Cream

The month of May is a busy month for birthdays in my family. This May was extra special as my husband turned 50 and his sister from London who also had a birthday a day before his was with us to celebrate it. Uber special! I really wanted to make a cake for dear Linda and I wanted it to be different and beautiful and just yummy. After all London is a long way away and the fact she came with her husband was cause for celebration enough but to have a birthday with us as well was too fab!

One of Linda's favourite fruit is raspberry so I wanted to showcase raspberries. I love raspberries with cream and with these 2 ingredients in mind I knew I had to make her a meringue cake. I wanted it to be a little more than just raspberries and cream though so I added rosewater to the cream and can I say, those 3 together, raspberries, cream and rosewater .. OMG! The plan to take the cake to another level was to add crushed pistachios between the layers with the rosewater cream but I ooopsied and forgot. So if your memory is better than mine add some for that crunch, it'll be delish.

Raspberry Meringue Cake with Rosewater Cream
2-3 punnets of raspberries
4 egg whites
1/8 teaspoon cream of tartar
1 1/4 cup caster sugar
500ml cream
2-3 tablespoons icing sugar
1-2 tablespoons rosewater
1 cup crushed pistachios (optional)
red food colouring (optional)

1. Preheat oven to 120 degrees.

2. Line 2 baking trays with baking paper and draw 3 circles (I used a saucer).

3. Beat egg whites on low speed until frothy then add cream of tartar. Beat on high until peaks hold.

4. Add sugar a little at the time whilst beating to firm peaks.

5. Pour mixture into drawn circle making sure it's not too thin.

6. Bake for an hour and turn off oven. Loosen meringue discs with a spatula just to make sure the bottoms are not stuck. Leave in oven to cool and dry.

7. Beat cream and icing sugar until firm. Add rosewater to taste and just a drop of food colouring for a tinge of colour.

8. To assemble simply place cream on a disc of meringue. Sprinkle raspberries and pistachios (optional) and then sandwich with another disc. Repeat for the next layer. Then garnish the top however you like.


Sunday, 21 April 2013

Red Velvet with Cream Cheese Frosting

Until I made this cake I had never ever had a red velvet cake before. It's not a type of cake that automatically pops in my head when I think "I want cake". It's very American in origin and popularity and not one that I've seen in shops here. Excuse my ignorance but I had always thought that all a red velvet cake is is a red coloured sponge. It didn't excite me. But thanks to my very discerning cousin's suggestion that I try to make one I now know better.

After baking and eating one I can say that the red velvet cake lives up to it's name. The colour of the cake is rich and bright and very pretty and contrasts so well with the clean white of the cream cheese frosting. The taste and texture is just amazing. A complete mouthful of this cake should make you think velvety yet fluffy, airy yet substantial. It's light enough to not feel dry but full enough yet not dense. You will taste and smell a very playful hint of chocolate without it being overly chocolatey. It's a sexy cake, even the batter is sexy in colour and texture. It's really hard to describe but all you need to know is this ... it's amazing!

I looked at many recipes online and decided to adapt the cake from Epicurously and my own cream cheese frosting. It's a match made in heaven! It's not an easy add it all in one bowl and stir type of cake but if you follow the required steps and components, I promise you the end product will be delicious.

Red Velvet Cake
2 1/2 cup plain flour
1 tsp baking powder
1 tsp salt
3 tablespoons cocoa powder
35ml red liquid food colouring
125g softened butter
1 1/2 cups caster sugar
2 eggs at room temperature
2 teaspoon vanilla essence
1 cup buttermilk
1 teaspoon white vinegar
1 teaspoon bicarb of soda

Cream Cheese Frosting
125g softened butter
500g cream cheese
3 teaspoons vanilla essence
2 cups icing sugar

1. Preheat oven to 180 degrees. Grease and line the bottom of 2 x 22cm round cake tins or 1 deep one. I used a deep one and cut the cake into 3 layers when it cooled. It's a personal choice. Easier to to have multiple cans.

2. Sift flour, baking powder and salt and set side.

3. In a small bowl stir the cocoa powder and food colouring into a paste. Try to make it as lumpless as possible.

4. Cream butter and sugar until light and pale. Add eggs in one at a time. Then add vanilla and cocoa paste. Beat batter well until the colour is even all the way through.

5. Mix in a third of the flour to the mix. Beat well then add half cup of buttermilk. Then mix another third of the flour, then the rest of the buttermilk and finally the remaining flour. Beat until everything is mixed well. Scrape the sides of bowl down to make sure everything gets incorporated into batter.
*** The batter will now look rich and luscious and velvety and just sexy!!!***

6. Mix vinegar and bicarb of soda. It will start to fizzle and froth. Stir this through the batter quickly with a wooden spoon until combined.

7. Put batter in cake tin or tins depending on what you decide to do. If cooking in multiple tins bake for 25-30 minutes. If baking all that batter in one tin it will take about 60-70 minutes. Check by sliding a skewer into the thickest part of the cake. If skewer comes out clean cake is cooked.

8. Put aside to cool. I decided to cut cake into 3 layers but only cut when cake is completely cool.

9. Make frosting by beating butter, cream cheese and vanilla. Then add icing sugar and mix well. Pipe or decorate any which way you like.
10. I added frosting between the layers and then crumb coated the cake. I then piped rose swirls around the cake and topped with silver balls and sprinkles of edible red glitter.


Sunday, 17 March 2013

Caramelised Banana Cheesecake

Last week I was chatting to a girlfriend about caramel cheesecakes. Everyday since that chat all I could think off was caramel cheesecake. So when twingroup rolled around it was my perfect excuse to make one. I am normally a fan of quick and easy but effective and delicious. This recipe is a bit more involved than what I would normally do as there are several parts to it and it does span over 2 days as there's a lot of time needed to let the cake chill. But for all the time and effort required, I promise you, definitely worth it.
I had never made it before so I looked online at several recipes and used bits that I liked from 2 recipes. One was from Yummly and the other by Anna Olson at the recommendation of my Mom. My mother simply adores her.

So after many hours of fun fun fun here is my version of a Caramelised Banana Cheesecake.

For the pastry
13 digestive biscuits
1/2 cup pecan nuts
1/4 cup melted butter

For the caramelised banana
3 firm bananas
1/4 cup brown sugar, packed
2 tablespoons butter
1 tablespoon lemon juice

For the cheesecake filling
500g cream cheese, softened
3/4 cup caster sugar
1/2 cup sour cream
1 egg, beaten
1 extra yolk
2 egg whites,lightly beaten

For the caramel sauce
1 1/2 cup caster sugar
1/4 cup water
1 tablespoon lemon juice

PASTRY
1. Wrap a greased 23cm springform tin in foil. It will be immersed in a water bath later. Preheat oven to 180 degrees.
2. Blitz pecans and biscuits until fine. Then add melted butter and blitz until well combine.
3. Press onto bottom of pan (not up the sides) and bake for 12 minutes and see aside
to cool.


BANANAS
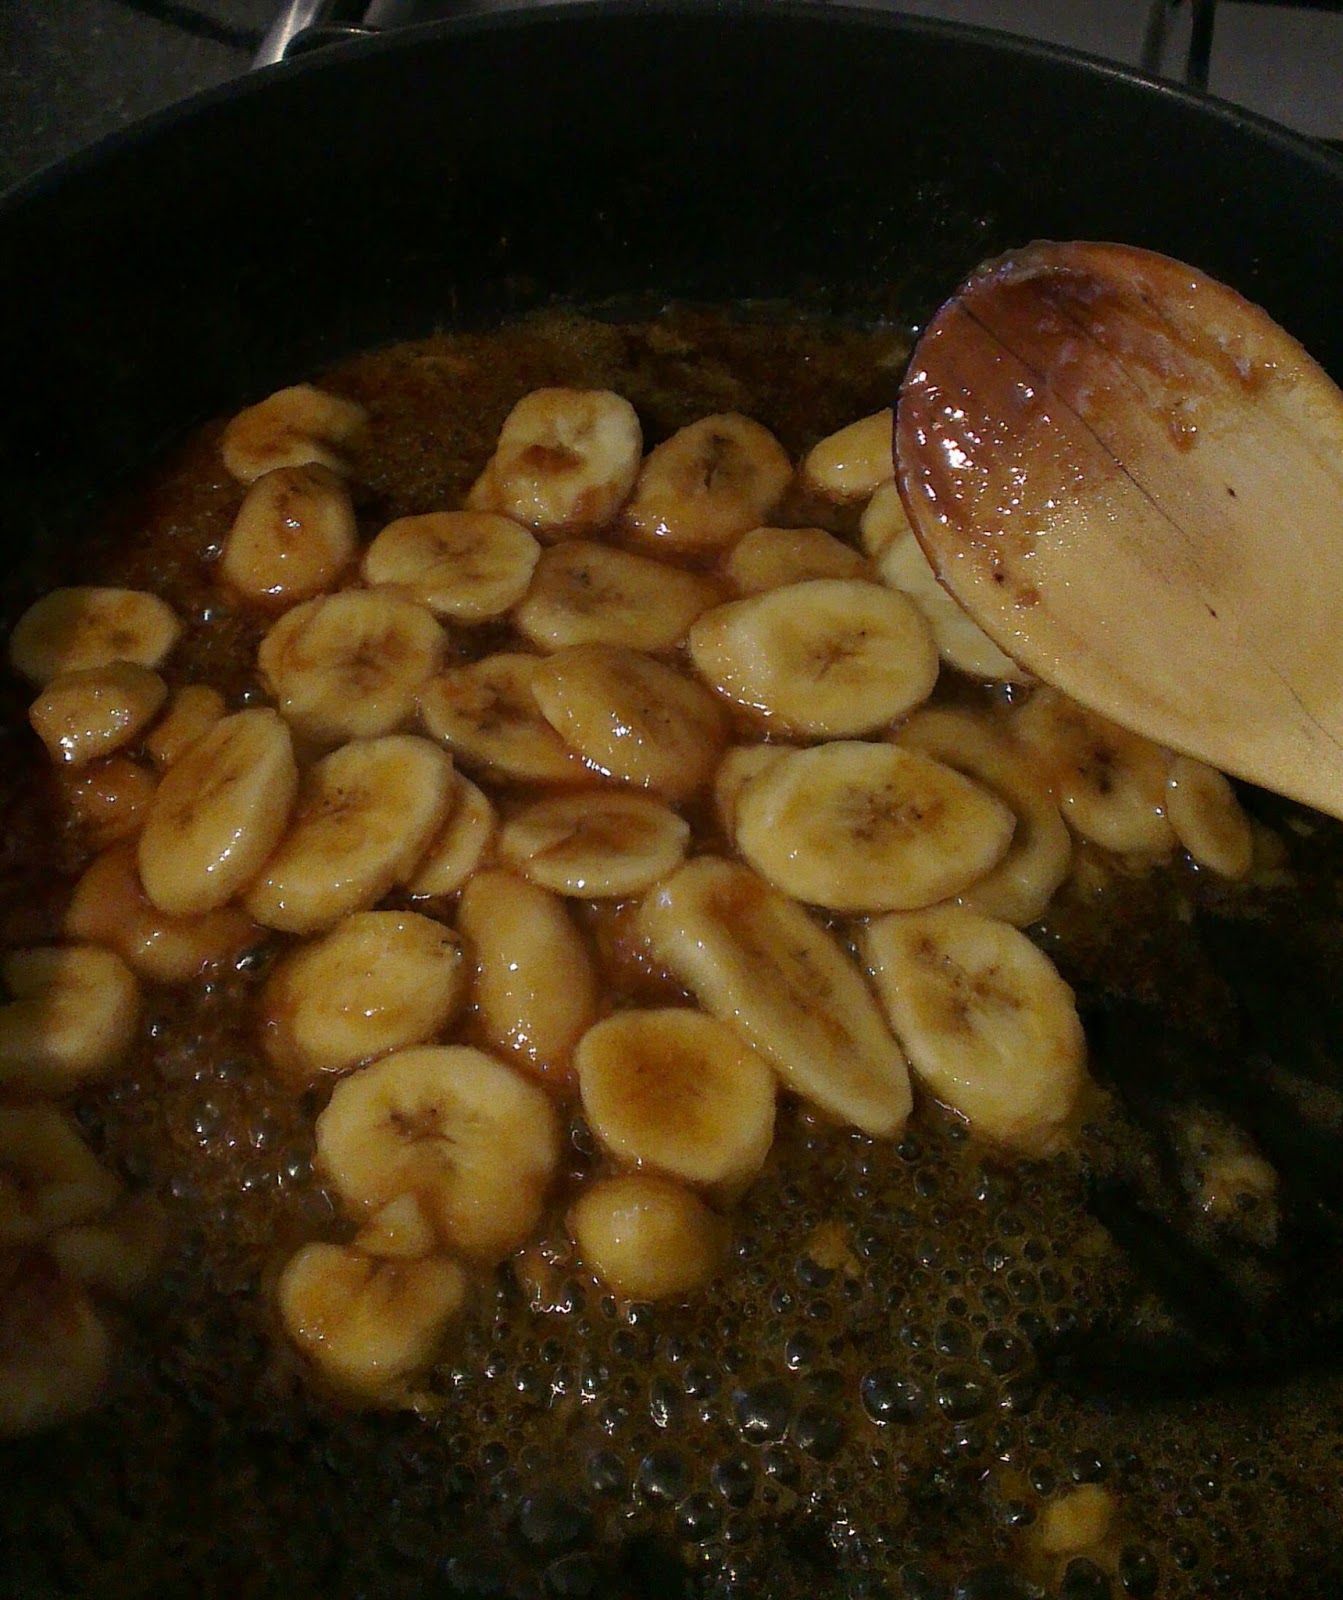
1. Melt butter and add brown sugar until melted and bubbly. Add lemon juice and sliced bananas.
2. Warm bananas through the hot caramel until well coated. Pour onto cooled crust and set aside.


CHEESECAKE FILLING
1. Beat cream cheese until fluffy. It must be soft to begin with or you'll get a lumpy filling.
2. Add sugar then sour cream and eggs.
3. Combine well and top the caramelised banana in the springform tin. Put tin in a deep baking dish and pour hot water half way up the tin.
4. Put in oven for 30 minutes at 180 degrees and then another 30-40 minutes at 160 degrees. The cake should be puffed but still jiggly. Remove from water and completely cool before letting it chill in fridge overnight.


CARAMEL TOPPING
1. In a pan combine water, sugar and lemon juice. Don't stir. Let it boil until it reaches a golden colour.
2. Remove from heat and add cream. Be careful as it will be quite sputtering and bubbly. Return to heat for another 5 minutes or so to let it reduce a little. Stir occasionally.
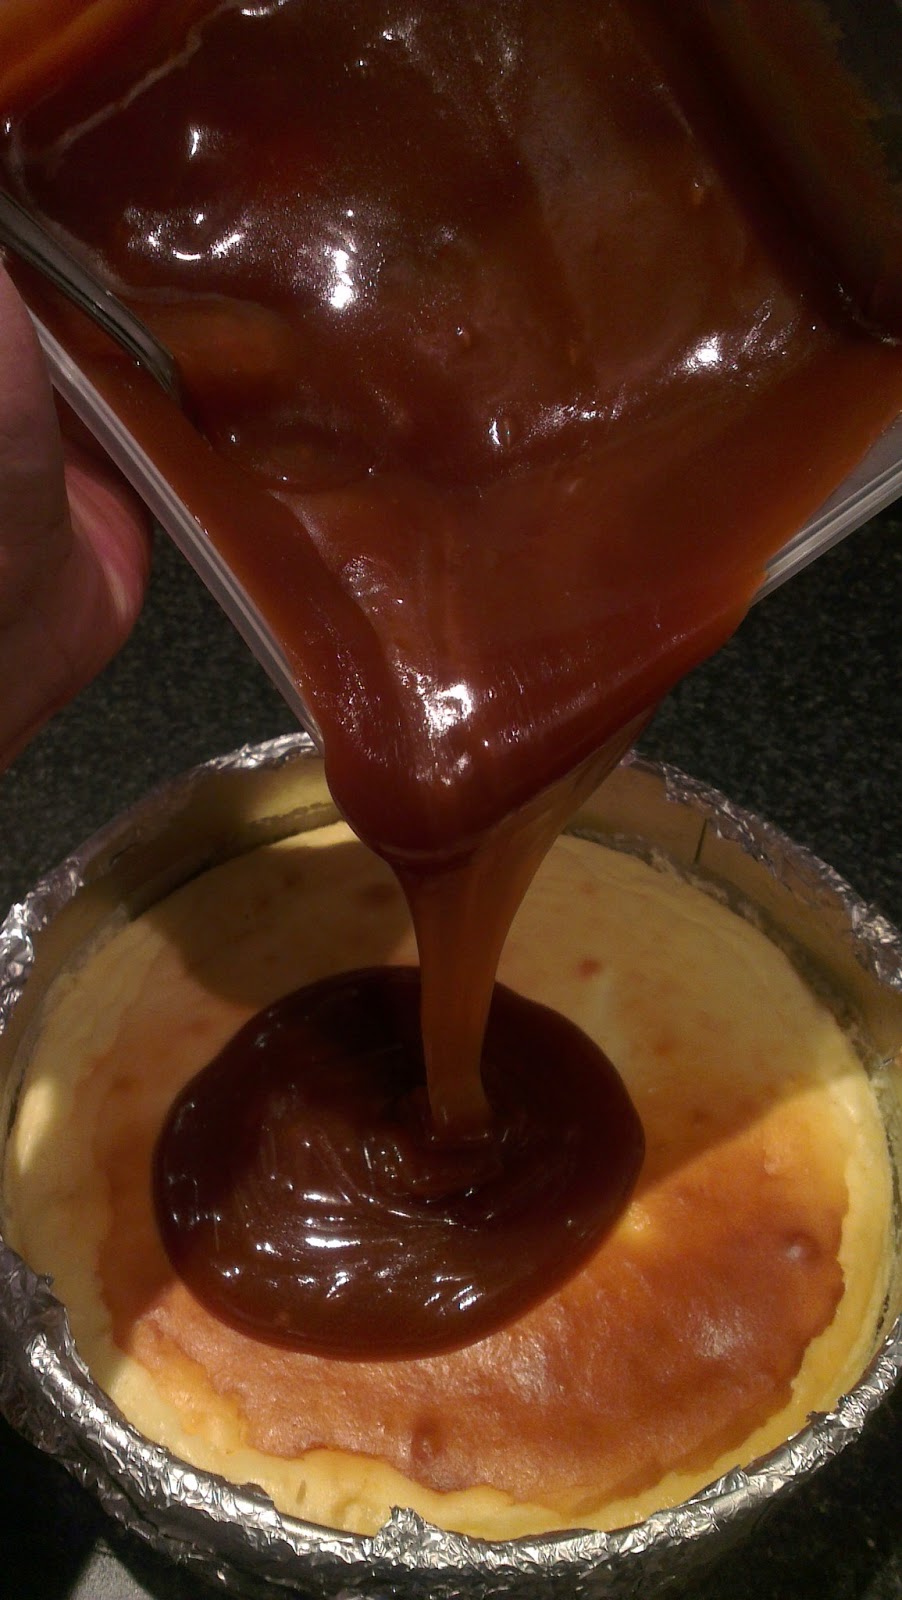
3. Let caramel sauce cool. I cool it in the fridge until it thickens but can still pour and flow.
    4. Pour sauce on cake and chill completely.


FINALLY
1. Loosen and remove pan. The sauce will start to slowly ooze down the sides so think about what you use as a plate or serving dish as if it's not deep or big enough caramel will ooze everywhere (learn that the hard way)

2. Have the strength to share cake with friends because it really is delicious!!


Wednesday, 6 March 2013

Hot Cross Buns


My boys have just memorised the words to the old Hot Cross Buns nursery rhymes. They love the song and it's quite hilarious to hear them sing it. It's almost Easter Time (according to the shops anwyay) as Easter Eggs and Hot Cross Buns are now on display. Actually it's been on sale since February so really the shops are not a good indication of how close Easter is because if we go by their displays Halloween is in September and Xmas is in October.

Anyway, the boys had their first taste of the infamous buns last week and they loved it. This morning on their way to daycare they asked if I could get them some for when they got home. So I dropped them off and went to the bakery that made the best ones in my town only to be dreadfully disappointed that they were shut. So I got home, looked up a recipe on taste.com and to my amazement actually had all the ingredients in the pantry and decided to bake some.

This is my 1st attempt. It's not the best hot cross buns in the world but it's quite gorgeous especially served warm with butter melting through it.

Hot Cross Buns

Buns
4 cups plain flour
1/4 cup caster sugar
2 x 7g dried yeast sachets
2 teaspoons mixed spice
pinch of salt
1 1/2cup sultanas
50g butter
300ml milk
2 eggs beaten

Flour paste
1/2 cup flour
4-5 tablespoons water

Sugar glaze
1/3 cup water
2 tablespoons caster sugar

1. Combine flour, sugar, yeast, mixed spice, salt and sultanas in a large bowl. Make a well and set aside.

2. In a small saucepan melt butter and heat milk just to lukewarm. Add warm milk and beaten egg to dry ingredients. Mix it until combined and turn out dough onto lightly floured surface.
***I used a mixer with a dough hook but a flat knife is good enough for the mixing***

3. Knead dough until smooth, 10 mins max. Don't overwork it or you'll have buns of steel. Place dough in a lightly oiled bowl and set aside to rise and double, about an hour or an hour and half.


4. Punch dough down to original size and knead until smooth. Cut into 12 equal portions. Roll each portion into a ball and place on a baking paper lined tray a couple of cm apart. Set aside for half hour so dough can plump up again. Heat oven to 190 degrees.

5. To make flour paste simply add flour and water and stir to a nice thick consistency. Not too thick that it can't get piped, thick but flowy is what you want. Add a little more flour or water if needed to reach the consistency you need. Put flour paste in a piping bag or a plastic bag that you can snip the edge off. I used a plastic bag with a small nozzle shoved in the end.

6. Pipe paste on buns. Of course make the cross pattern but I also did a few initials for the twins as they love anything that they can identify as being specific to them. Pop in oven for 20-25 minutes.

7. Meanwhile dissolve sugar and water and let boil for a few minutes. Let it boil until the mixture looks a little thick but take it off the fire before the colour starts to change to toffee shades.

8. When buns are out of oven and still warm glaze with the mixture. It will give that extra sticky yumminess and beautiful glossy finish.

9. Shove in face whilst still warm with melting butter all through the crumbly bun.